
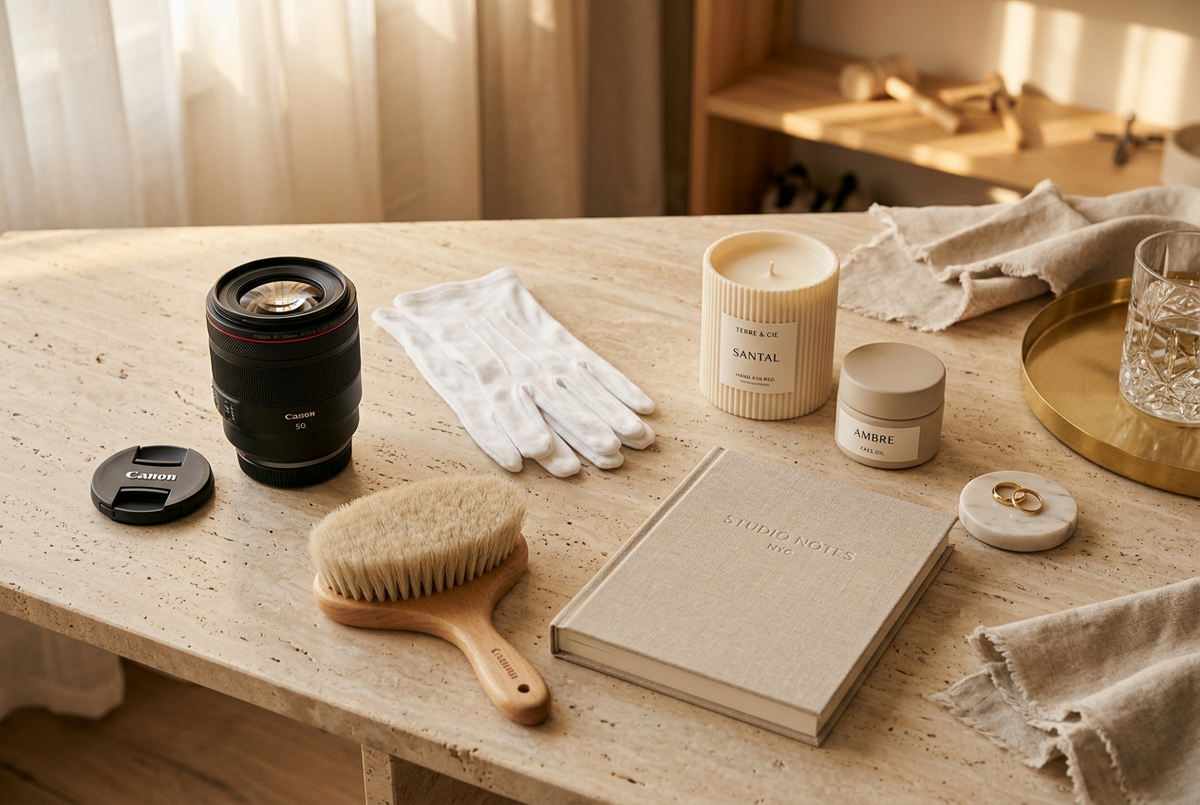
To prepare your products for a professional photoshoot, clean and repair every item, send a few backups, gather the packaging and labels you want shown, decide on styling and props, write a simple shot list, and share your brand requirements with your photographer before shoot day. Do those six things and you'll save time, avoid expensive retouching, and walk away with images that actually sell.
Whether you run a Brooklyn skincare brand, a Shopify store shipping nationwide, or a growing wholesale business, the prep work you do beforehand shapes the final images more than most people realize. Here's how to get it right.
Start With Clean, Flawless Products
Cameras are unforgiving. A fingerprint you'd never notice in person looks like a smudge on a billboard once it's shot at high resolution. Before your products arrive at the studio:
- Wipe down every surface. Use a microfiber cloth for glass, metal, and plastic. Use a lint roller on fabric and a soft brush for textured items.
- Polish where it counts. Jewelry, watches, glassware, and chrome hardware should be polished right before the shoot, and handled with gloves afterward.
- Steam or press apparel. Wrinkles are one of the most common (and most time-consuming) things to fix in post.
- Check for defects. Scratches, dents, loose threads, and crooked labels are easy to miss until they're magnified on screen. Pull anything imperfect.
Clean products mean less retouching, and in professional product photography, less retouching means faster turnaround and a more accurate image of what customers will receive.
Send Samples (and Always Send Extras)
If you can, send two or three units of each product. One becomes the hero, and the others cover backups, alternate angles, or items that get damaged in transit. For apparel, bring multiple sizes. For anything with variations, such as colors, scents, or finishes, send one of each so the whole lineup stays consistent.
Also confirm that your samples match what customers will actually receive. Prototypes and "almost final" versions are a common source of reshoot headaches.
Don't Forget Packaging and Labels
Packaging is often part of the story, especially for gifts, beauty, food, and subscription products. Decide in advance whether you want:
- The product on its own
- The product with its box or bag
- An unboxing-style setup
- Close-ups of labels, ingredients, or certifications
Check every label for spelling errors, outdated claims, and peeling edges. If a label is going to be legible in the photo, it needs to be correct. It's far easier to fix this before the shoot than to edit text into an image afterward.
Plan Your Styling and Props
Good styling supports the product without stealing attention from it. For clean e-commerce images, white or neutral backgrounds usually work best, and marketplaces like Amazon often require them. For lifestyle shots, props can add context and mood: a coffee mug beside a notebook, fresh botanicals next to a candle, a countertop with a bottle of olive oil.
A few tips:
- Bring a small Pinterest board or a handful of reference images so everyone shares the same vision.
- Keep props simple. If a prop is competing with the product, it doesn't belong.
- Think about scale. Hands, models, or familiar objects can help customers understand how big something really is.
Many studios supply basic props and backdrops, so ask what's included in their product photography services before you buy anything.
Build a Shot List
A shot list doesn't need to be fancy. A spreadsheet or even a handwritten list works. Include:
- Each product name or SKU
- The angles you need (front, back, side, top-down, detail)
- Where the images will be used (website, Amazon, Instagram, print, ads)
- Any must-have shots, like scale, texture, or in-use images
Knowing the end use matters. Ecommerce product photography typically needs consistent, clean images across every listing, while social and advertising shots can be more creative. Telling your photographer up front saves you from paying for images you can't use.
Share Your Brand Requirements
Your photographer can only match your brand if they know what it looks like. Share your color palette, logo files, tone (bright and playful or moody and minimal), and any brand guidelines. If you've worked with other photographers, send examples of images you love and images you don't. Mention technical requirements too, such as image dimensions, file formats, and background colors for marketplaces.
Common Preparation Mistakes to Avoid
- Showing up with dirty or damaged products. Retouching can fix a lot, but it costs time and money.
- Sending only one unit. If something breaks or looks off, there's no plan B.
- Skipping the shot list. Without one, it's easy to miss angles and end up booking a second session.
- Forgetting where the images will be used. A square Instagram crop and a wide website banner need different compositions.
- Keeping expectations to yourself. Your photographer isn't a mind reader.
Communicate Clearly With Your Photographer
The best shoots start with a conversation. Before shoot day, talk through your goals, timeline, budget, and deliverables. Ask how many final images you'll receive, how revisions work, and how long editing takes. On the day, point out what matters most, whether that's a certain logo placement, a texture, or a color that has to look exactly right. A good product photographer wants that feedback and will guide you on what works best.
Ready to Get Started?
If you're looking for product photography NYC businesses can count on, or you're an online brand shipping across the country, our team at David DuPuy Studios makes the process easy from prep to final delivery. Learn more about our product photography service, or book your shoot through our inquiry form and we'll help you plan every detail.
Frequently Asked Questions
How early should I prepare my products before a photoshoot?
Start at least a week ahead. That gives you time to gather samples, fix defects, finalize packaging, and write your shot list. Do final cleaning and polishing the day before or the morning of the shoot.
Do I need to bring props to a product photoshoot?
Not always. Many studios provide basic props and backdrops. If you have a specific look in mind, share reference images and ask what the studio can supply, then bring only what's essential.
How many products can be photographed in one session?
It depends on complexity. Simple items on a white background can be shot quickly, sometimes dozens in a day, while lifestyle or styled setups take longer. Your photographer can estimate based on your shot list.
What's the difference between product photography and ecommerce product photography?
Product photography is the broad category, covering everything from advertising to editorial images. Ecommerce product photography focuses on clean, consistent images designed for online stores and marketplaces, usually with standardized angles and backgrounds.
Should I send my products to the studio or bring them in person?
Both work. Local NYC brands often drop products off in person, while businesses elsewhere in the US can ship samples ahead of time. Pack items carefully, include extras, and confirm arrival dates with the studio.

Leave a comment
This site is protected by hCaptcha and the hCaptcha Privacy Policy and Terms of Service apply.